The Great Debate: To Sand or Not to Sand Your Hardwood Floors
Are your hardwood floors looking a bit worse for wear? 🤔 You might be wondering if it’s time to give them a fresh start. But here’s the million-dollar question: to sand or not to sand? It’s a decision that can make or break the beauty and longevity of your floors, not to mention your wallet!
Sanding hardwood floors isn’t just a simple home improvement task – it’s a transformative process that can breathe new life into your living space. However, it’s not without its challenges and potential pitfalls. From dust clouds that seem to linger for weeks to the risk of damaging your precious wood, the stakes are high. But so are the rewards! Imagine walking on floors that look brand new, free from scratches and stains. 🌟
In this blog post, we’ll dive deep into the great hardwood floor sanding debate. We’ll explore the benefits and drawbacks, uncover alternatives you might not have considered, and provide you with the knowledge you need to make an informed decision. Whether you’re a DIY enthusiast or considering hiring a professional, by the end of this post, you’ll be equipped to decide if sanding is the right choice for your hardwood floors. Let’s get started!+ Add Section
Understanding Hardwood Floor Sanding
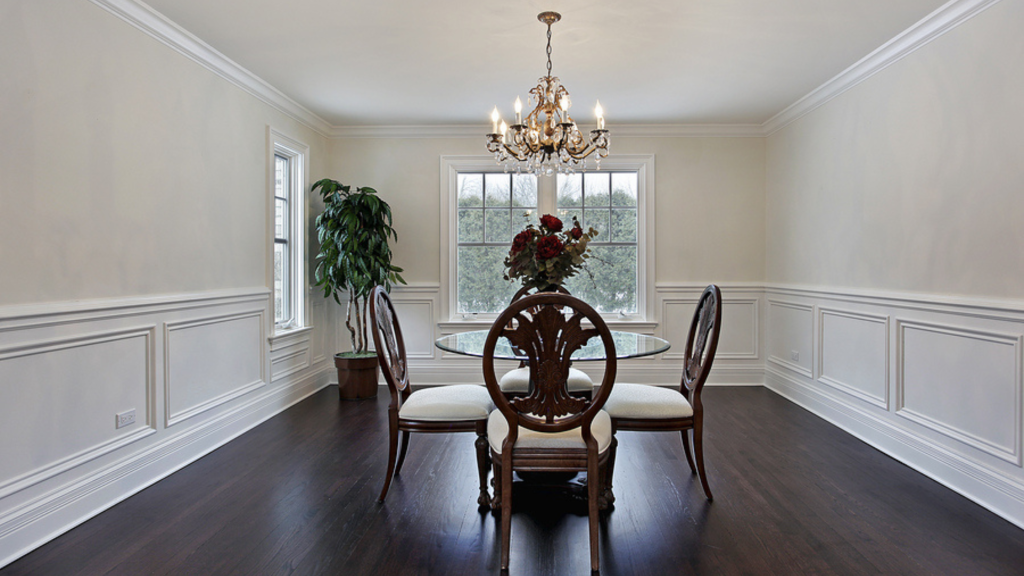
Understanding Hardwood Floor Sanding
A. What is hardwood floor sanding?
Hardwood floor sanding is a process of removing the top layer of a wooden floor using abrasive materials to create a smooth, even surface. This technique involves using specialized sanding equipment to gradually strip away old finishes, scratches, and imperfections, revealing the fresh wood beneath.
B. The impact of sanding on floor longevity
Sanding can significantly extend the life of hardwood floors by:
- Removing deep scratches and dents
- Eliminating years of wear and tear
- Allowing for the application of new protective finishes
However, it’s important to note that excessive sanding can reduce the overall lifespan of the floor by thinning the wood too much.
C. Types of hardwood floors suitable for sanding
Not all hardwood floors are suitable for sanding. Here’s a quick reference table:
| Floor Type | Sanding Suitability |
|---|---|
| Solid hardwood | Excellent |
| Engineered hardwood (thick veneer) | Good |
| Engineered hardwood (thin veneer) | Limited |
| Laminate | Not suitable |
D. When is sanding necessary?
Sanding becomes necessary when:
- Deep scratches or gouges are present
- The floor has significant discoloration
- There’s extensive wear in high-traffic areas
- The current finish is peeling or flaking
- You want to change the color of the wood
Now that we’ve covered the basics of hardwood floor sanding, let’s explore the benefits this process can offer to your home’s flooring.+ Add Section
Benefits of Sanding Hardwood Floors
Benefits of Sanding Hardwood Floors
Sanding hardwood floors offers numerous advantages that can significantly improve the appearance and value of your home. Let’s explore the key benefits:
A. Increasing property value
Sanding and refinishing hardwood floors can boost your property’s value by:
- Enhancing the overall aesthetic appeal
- Attracting potential buyers or renters
- Demonstrating proper maintenance and care
A well-maintained hardwood floor can increase your home’s value by up to 5%, making it a worthwhile investment.
B. Preparing for new stain or finish
Sanding creates the perfect canvas for:
- Applying a new stain color
- Changing the sheen level (matte, satin, or glossy)
- Updating the look of your space
| Finish Type | Characteristics | Best For |
|---|---|---|
| Matte | Low sheen, hides imperfections | High-traffic areas |
| Satin | Subtle shine, balanced look | Most residential spaces |
| Glossy | High shine, dramatic effect | Low-traffic, formal areas |
C. Removing scratches and imperfections
Sanding effectively eliminates:
- Deep scratches from furniture or pet claws
- Dents and gouges
- Water stains and discoloration
This process restores the floor’s smooth surface, making it look brand new.
D. Restoring original beauty and shine
Sanding reveals the natural beauty of your hardwood floors by:
- Exposing fresh wood grain patterns
- Removing years of accumulated dirt and grime
- Restoring the floor’s original luster and sheen
With proper sanding and refinishing, even the most worn-out hardwood floors can be transformed into stunning focal points of your home. Now that we’ve explored the benefits, let’s consider some potential drawbacks to sanding hardwood floors.+ Add Section
Drawbacks of Sanding Hardwood Floors
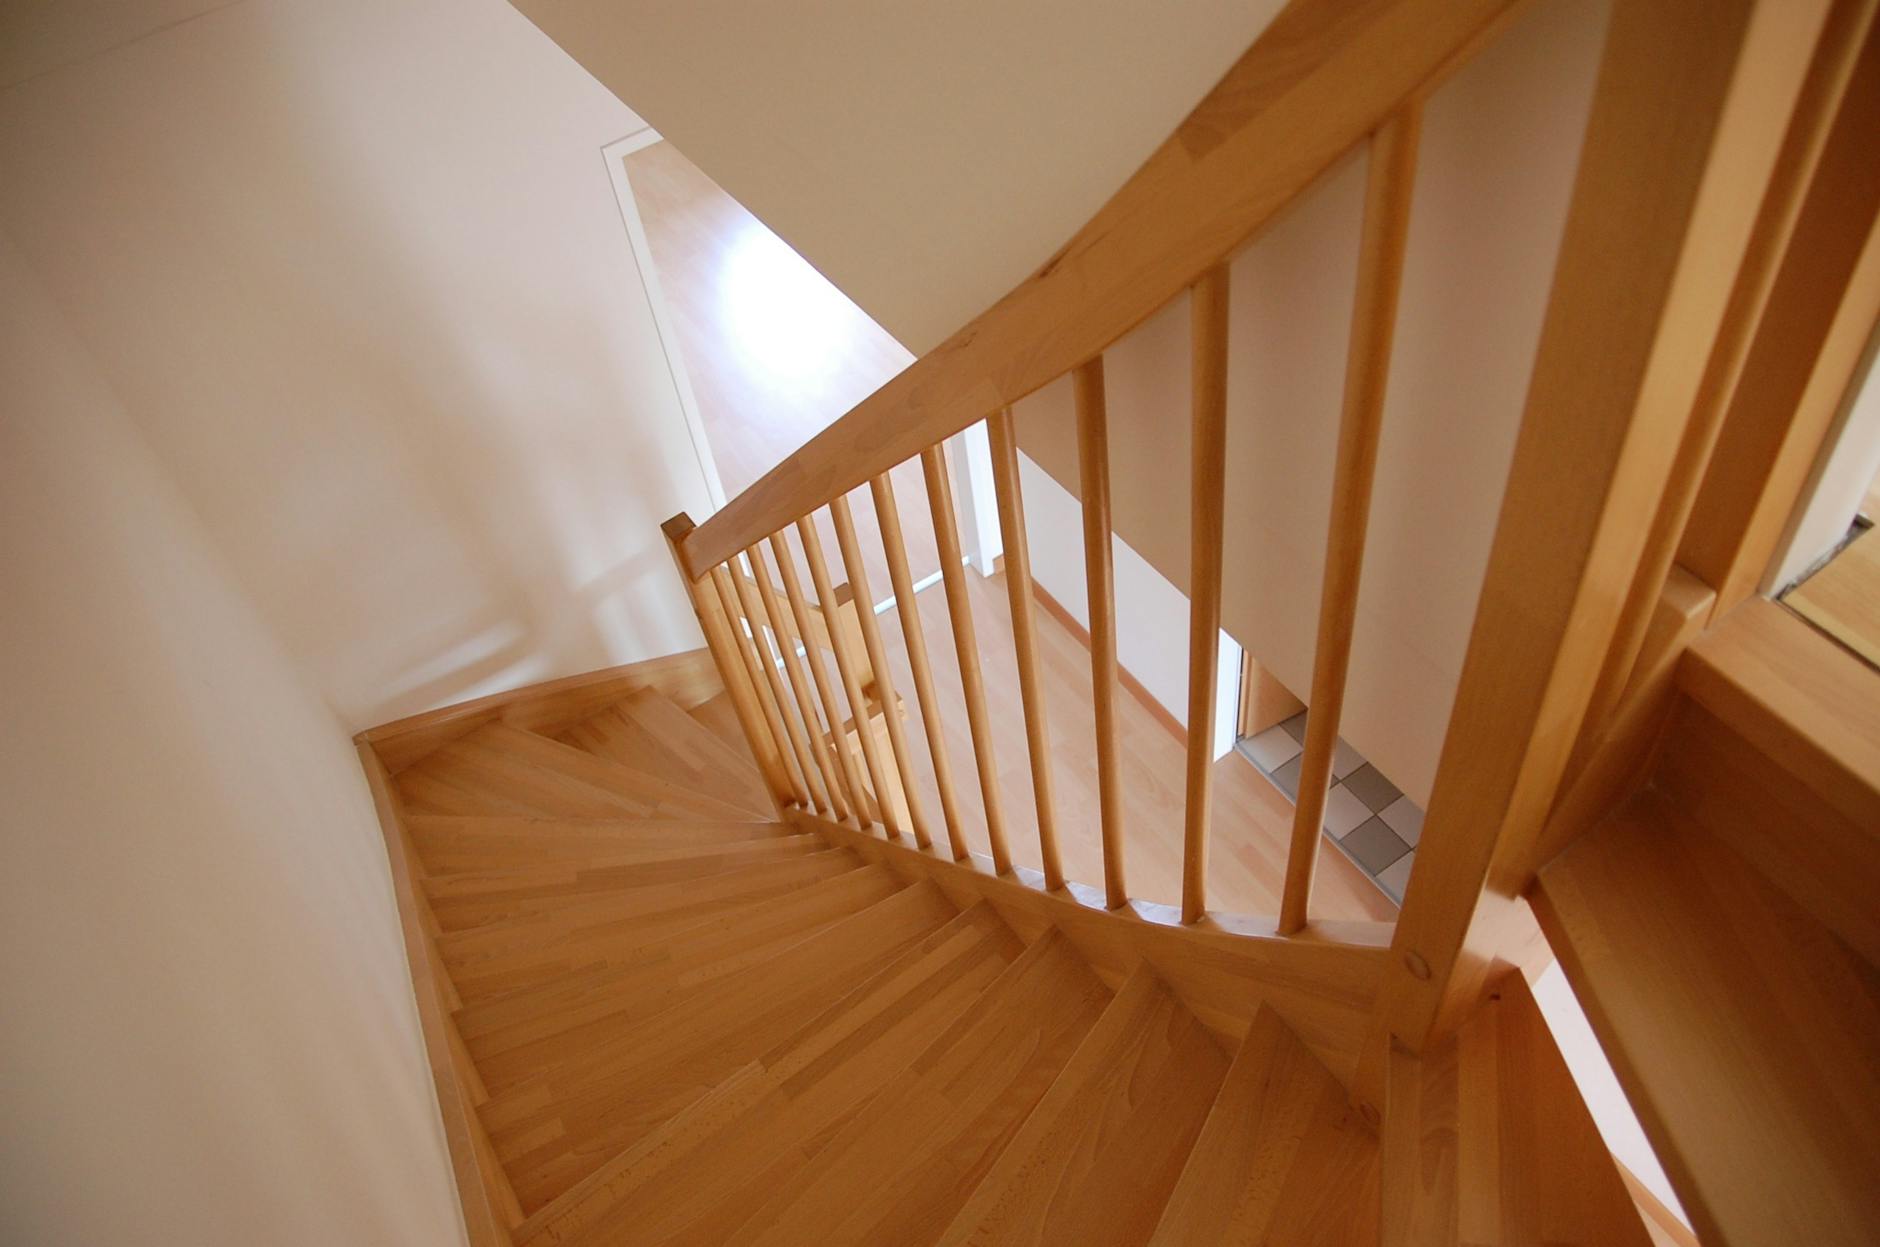
Drawbacks of Sanding Hardwood Floors
While sanding hardwood floors can rejuvenate their appearance, it’s essential to consider the potential drawbacks before proceeding. Here are the main disadvantages to keep in mind:
A. Reduction in floor thickness
Sanding removes a thin layer of wood from your floors, gradually reducing their thickness over time. This can impact the floor’s longevity and structural integrity, especially if done repeatedly.
B. Potential for floor damage if done incorrectly
Improper sanding techniques can lead to:
- Uneven surfaces
- Visible swirl marks
- Gouges or deep scratches
- Over-sanding, exposing nails or tongue-and-groove joints
C. Dust and mess generated
Sanding creates a significant amount of fine wood dust, which can:
- Spread throughout your home
- Settle on furniture and belongings
- Pose respiratory risks
- Require extensive cleanup
D. Time-consuming process
The sanding process is labor-intensive and time-consuming. Here’s a breakdown of the typical timeline:
| Task | Estimated Time |
|---|---|
| Preparation | 1-2 days |
| Sanding | 2-3 days |
| Finishing | 2-3 days |
| Drying and Curing | 2-4 days |
E. Cost considerations
Professional hardwood floor sanding can be expensive. Costs may include:
- Labor
- Equipment rental
- Materials (sandpaper, finishes)
- Furniture moving and storage
DIY sanding may save on labor costs but requires investment in proper equipment and materials.
Given these drawbacks, it’s crucial to weigh the pros and cons carefully. In some cases, alternatives to sanding might be more suitable for your hardwood floors.+ Add Section
Alternatives to Sanding
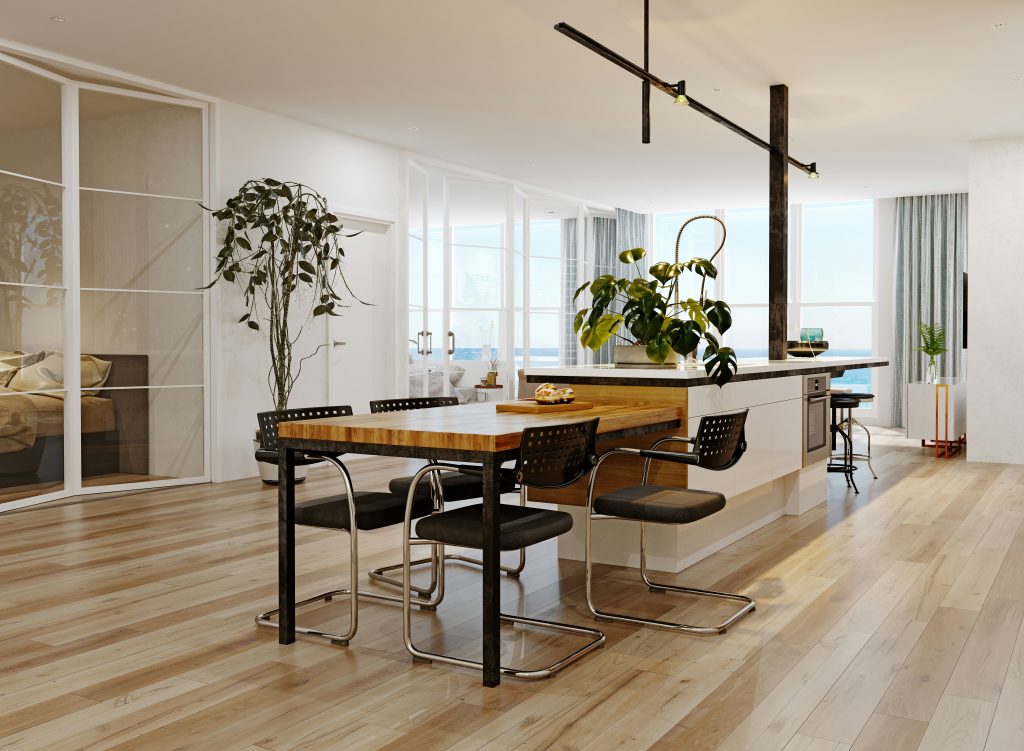
Alternatives to Sanding
Now that we’ve explored the pros and cons of sanding hardwood floors, let’s examine some alternatives that can help rejuvenate your floors without the need for extensive sanding.
Screen and Recoat Process
The screen and recoat process is a less invasive alternative to full sanding. This method involves:
- Lightly abrading the existing finish
- Removing dust and debris
- Applying a new coat of finish
This process can:
- Refresh the floor’s appearance
- Extend the life of the existing finish
- Be completed in less time than full sanding
Area Rugs and Strategic Furniture Placement
Sometimes, a simple rearrangement can breathe new life into your hardwood floors:
- Use area rugs to cover worn spots
- Place furniture strategically to hide imperfections
- Rotate rugs and furniture periodically to even out wear
Hardwood Floor Refinishing
Refinishing offers a middle ground between full sanding and minimal intervention:
| Refinishing Step | Description |
|---|---|
| Clean thoroughly | Remove all dirt and grime |
| Light abrasion | Scuff the existing finish |
| Apply new finish | Use polyurethane or similar product |
This method can significantly improve the floor’s appearance without removing as much wood as full sanding.
Chemical Etching
Chemical etching is a more advanced alternative:
- Apply a chemical solution to the floor
- The solution etches the surface, creating a bond for the new finish
- Apply a new finish coat
This method is particularly useful for floors that have been sanded multiple times and can’t withstand another full sanding.
With these alternatives in mind, you can make an informed decision about how to best care for your hardwood floors. Next, we’ll explore the crucial factors to consider before making your final choice.+ Add Section
Factors to Consider Before Deciding

Factors to Consider Before Deciding
Before you make the decision to sand or not to sand your hardwood floors, there are several important factors to consider. Let’s explore these key aspects to help you make an informed choice.
A. Time availability
Sanding hardwood floors is a time-consuming process. Consider the following time estimates:
- DIY sanding: 3-5 days for an average-sized room
- Professional sanding: 1-3 days for the same room
If you’re short on time, alternatives to sanding or hiring professionals might be better options.
B. Budget constraints
Your budget plays a crucial role in deciding whether to sand your floors. Here’s a comparison of costs:
| Method | Average Cost (per square foot) |
|---|---|
| DIY Sanding | $1 – $3 |
| Professional Sanding | $3 – $8 |
| Alternatives (e.g., refinishing) | $1.50 – $5 |
C. Type of wood and its hardness
Different wood types respond differently to sanding:
- Soft woods (e.g., pine): Require gentler sanding
- Hard woods (e.g., oak): Can withstand more aggressive sanding
- Exotic woods: May need special techniques or professional handling
D. Number of previous sandings
Hardwood floors can only be sanded a limited number of times:
- Solid hardwood: 6-10 times over its lifetime
- Engineered hardwood: 1-3 times, depending on the veneer thickness
Keep track of how many times your floor has been sanded to avoid damaging it.
E. Age and condition of the floor
Older floors or those in poor condition require special considerations:
- Antique floors: May lose value if sanded improperly
- Damaged floors: Might need repairs before sanding
- Structurally weak floors: Could be further compromised by sanding
Now that we’ve examined these crucial factors, let’s explore the difference between professional and DIY sanding approaches.+ Add Section
Professional vs. DIY Sanding

Professional vs. DIY Sanding
When it comes to sanding hardwood floors, homeowners often face the dilemma of whether to tackle the project themselves or hire a professional. Let’s compare these two options across several key factors to help you make an informed decision.
Time Investment
- DIY: Can take 3-5 days for an average room
- Professional: Usually completed in 1-2 days
Quality of Results
The quality of results can vary significantly between DIY and professional sanding:
| Aspect | DIY | Professional |
|---|---|---|
| Evenness | May have inconsistencies | Uniformly smooth |
| Dust control | Limited, messy | Advanced dust collection systems |
| Finish application | Potential for imperfections | Even, professional-grade finish |
Cost Comparison
- DIY:
- Equipment rental: $200-$300 per day
- Materials: $100-$200
- Total: $500-$1000 for a medium-sized room
- Professional:
- Labor and materials: $3-$7 per square foot
- Total: $1500-$3500 for a medium-sized room
Skills and Equipment Required
DIY Sanding:
- Drum or orbital sander
- Edge sander
- Sandpaper (various grits)
- Dust masks and safety goggles
- Basic carpentry skills
- Physical stamina
Professional Sanding:
- Industrial-grade sanders
- Professional-grade finishes
- Expertise in wood types and finishes
- Years of experience
While DIY floor sanding can save money, it requires significant time, effort, and skill. Professional sanding offers superior results and efficiency but at a higher cost. Consider your budget, time constraints, and desired outcome when deciding between these options.+ Add Section
Conclusion
Sanding hardwood floors is a significant decision that requires careful consideration. While it offers benefits like restoring the floor’s original beauty and increasing your home’s value, it also comes with drawbacks such as cost, mess, and potential damage if not done correctly. Alternatives like deep cleaning or refinishing might be suitable options depending on your floor’s condition.
Before making a choice, assess your floor’s current state, your budget, and your willingness to undertake a potentially disruptive process. If you decide to sand, weigh the pros and cons of professional services versus a DIY approach. Ultimately, the decision to sand or not to sand should be based on your specific circumstances and goals for your hardwood floors.


0 Comments